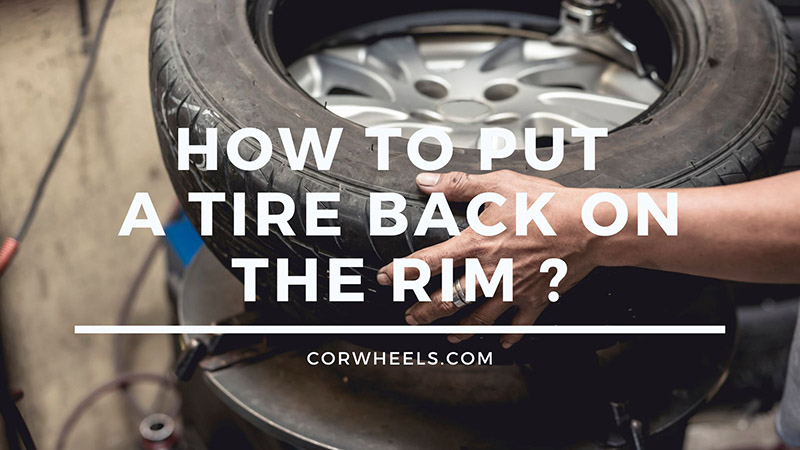

Sometimes, you remove the tire for some repair and maintenance work but then do not know how to put it back. You do not need to visit repair shops for this service since it is possible to DIY with a machine or by hand.
The important criterion is that the installed tire must fit the rim size. For example, a 15-inch tire was born for a 15-inch rim. Now, get down to business with our detailed guide on how to put a tire on a rim.
In this article:
How To Pop A Tire Back On The Rim With A Mounting Machine
There is nothing better than having a tire machine at home. It allows your actions to be more precise, safer, and faster. Here is the detailed tutorial.
Lubricate
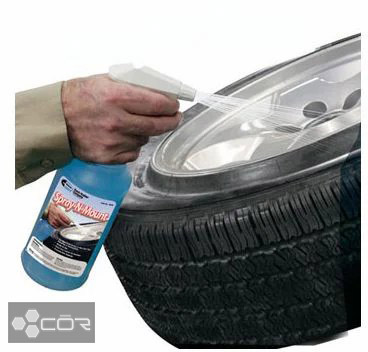
Spray lubricant on the tire’s inner edge (also known as the tread) and the rim’s outer edge. If you have a solution vial, soak it in a wooden dowel or cloth and wipe over the required surfaces.
Most auto parts stores stock lubricating products; you shouldn’t use car grease or soapy water instead. Both options are not smooth enough and are difficult to remove once the job is done.
Attach The Valve Stem
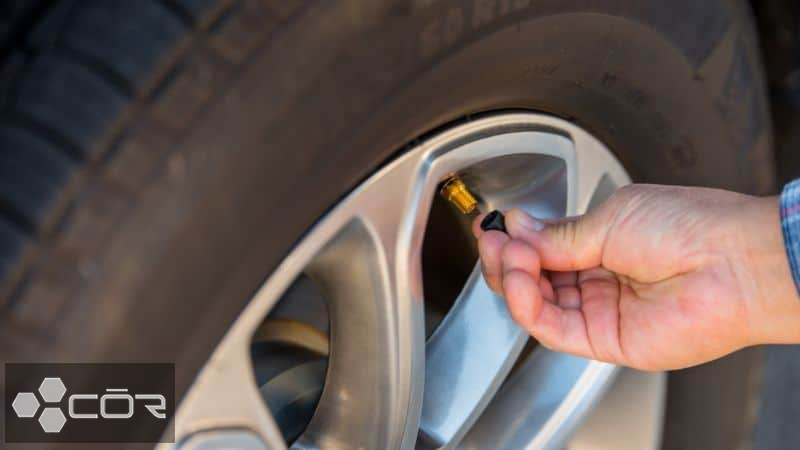
If your existing wheel does not have a valve stem, install one to pump pressure to the tire after it returns to its original position. Examine the rim interior to find a hole. It is where you insert the valve stem so it pokes out from the inside of the rim.
Then use a pair of pliers to pull the valve out until it sits securely. If you have trouble with this action, apply a little tire oil to the valve stem so it slides through easily. Pay attention to your movements since this unit can pop out backward later. In other words, it may slip if you do not put it snugly in place.
Put The Rim On The Machine
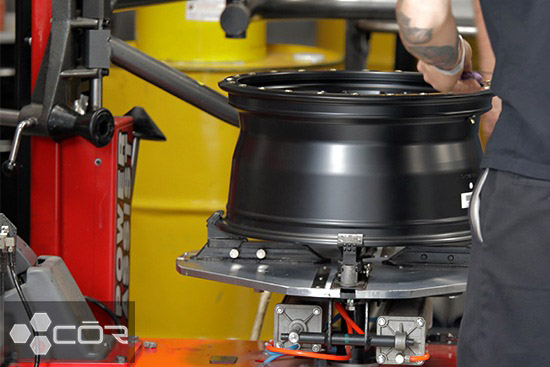
Most mounting machines are designed to receive the rim facing up, so follow this rule when putting it on the machine. Push the pedal beneath the device to activate the hydraulic press. The machine then does its job of fixing the rim into the standard position.
Note that these machines often feature two pedals: one for the press and the other for the rim rotation function. If you fail to distinguish between the two or find them, refer to the printed manual or the softcopy version on the manufacturer’s official website.
Place The Tire At A 45-Degree Angle Over The Rim
Place part of the bottom bead edge of the tire below the top rim edge so that the tire is at a 45-degree angle to the rim. How do you know that you have aligned the proper angle? Take your hand off the tire to see whether it can sit independently. If it does not fall off the rim, proceed to the next step.
Swing The Mounting Arm
Pull down the support arm so that it makes contact with the outer edge of the rim. The previous tilt angle allows it to slide into place. If you cannot get the mounting bracket into the rim, adjust the angle again to make enough room.
Position The Tire
Now adjust the tire so that its bottom faces the mounting arm. Double-check to ensure it is in the correct position where the component can press the edge down over the rim as the spin begins.
In our experience, an accurate tire and rim position setting often brings the rack to the correct angle without much effort.
Rotate The Rim And Tire
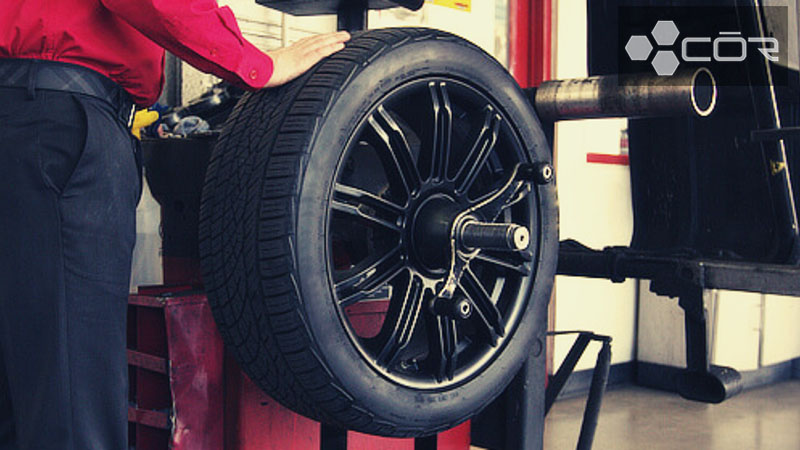
Step on the pedal to rotate the tire and rim. As the process begins, the arm pulls the tire’s bottom edge over the rim’s top edge. It would help to keep holding the pedal to complete a full lap.
As a result, the tire’s bottom part completely exceeds the rim’s top edge. Now most of the liner rests on the edge as if you had installed it halfway through.
Adjust The Mounting Arm Again
Switch the arms’ position to pull the tire’s top edge into the wheel rim. We recommend using your hand to press down on one side of the tire.
This allows it to descend completely below the top edge of the rim. Then, lower your arms to the edge of the rim. You will notice the tire stays at an angle again.
Press The Pedal Again
Press the pedal a second time to generate rotation again. At this point, the mounting arm pushes the top tire edge into the rim. After the round is over, both the top and bottom tire beads have passed through the upper lip of the rim.
Inflate The Tire
Turn on the air compressor and pump the tire. Connect the air hose to the valve body, and the tire will inflate quickly.
Please keep your hands and clothing off the tire before turning on the engine unless you want to be pinched. Inflate to the manufacturer’s recommended level, and the tire is ready to return to the car.
How To Put Tire On Rim Without Machine
The good news is that you can save money on this service even without a mount. The necessary equipment includes a screwdriver or pry bar, lubricant, a clean cloth, and an air compressor.
However, we find it more challenging and time-consuming with the manual process since it requires a lot of strength.
Install The Valve Stem And lubricate
The first steps of manual tire installation are similar to our instructions above. Use the pliers to pull the valve stem out of the valve hole inside the rim.
Then apply the tire lubricant to the entire top edge of the rim and the tire beads. Do not skimp on the starter fluid because it saves a lot of effort in the next steps. We made a mistake that caused our legs to ache after finishing.
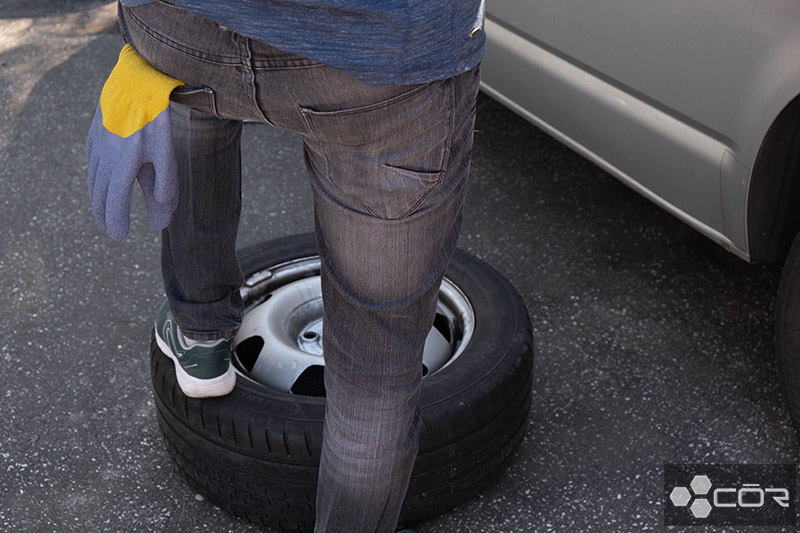
Position The Tire And Rim
Place the rim on a flat surface and then stack the tire on top. If you work on asphalt or concrete, put a piece of cardboard under these parts to prevent scratches. Now, the tire is located above the rim where its bottom bead comes in contact with the top lip of the rim.
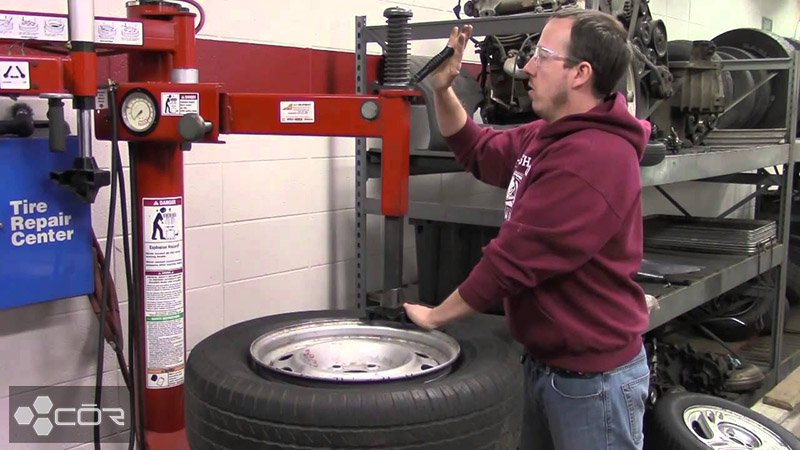
Press The Lower Lip
Stand up on the tire and jump up and down to press the upper bead onto the rim. It would be an exhausting experience, like swaying on a buoy floating on the water.
You can ask a friend to come and take your hand to keep balance during this stage. For us, the whole process drained our power, and it took us about 10 minutes to reach the target.
Add Lubrication
Spray a heap of lubricant on the top bead and the rim. You can lift the tire a little to apply every nook and cranny.
Press The Upper Lip
You now need to press the top edge of the tire down from one side of the rim. The tire is tilted so that part of the top bead is with part of the top bead below the edge of the rim.
The bad news is it did not happen on its own, but you need to exert all your power to press down on the bottom of the tire.
You then insert the pry bar into the angle gap between the top edge of the tire and the rim. If the space is unavailable, use another pry bar to make a gap and fix it in that position.
Push The Lip Over The Rest Of The Rim
Using the lift bar, slowly slide the tire over the rim. It requires a skillful combination of both hands – the dominant hand for prying the edge of the tire and the other for pushing the tire down.
You must move a complete lap on the tire, which requires much effort. Returning to the starting point, you encounter the top and bottom beads completely passing the rim.
Inflate The Tire
You have finally reached the final stage. Attach the air compressor hose to the installed valve body and inflate the tire.
How To Get A Tire Back On The Bead Safely? Essential Notes
You’ve learned a specific guide for tire fitting, but it’s not the whole story. Refer to the following precautions to avoid accidents:
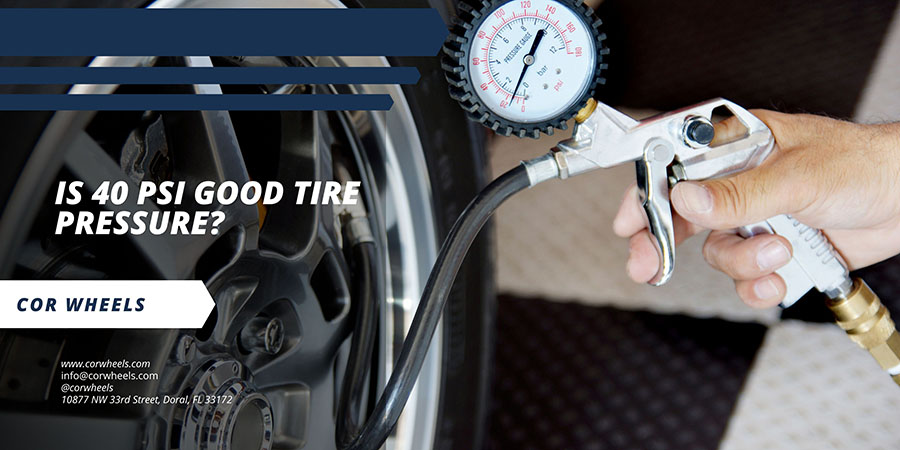
- Never let the tires reach 40 PSI, and don’t use fire, or you are at risk of a tire explosion.
- Cooling down the tire at room temperature before proceeding with the installation would be best.
- Do not take any action if you suspect technical tire problems.
- Use pneumatic pumps for heavy truck tires.
- Keep a distance from the tire while inflating.
Consider The Side Effects
Working with tires does not contain many risks, but you’d better be careful with your actions. The only danger is the pyrolysis effect – the decomposition of some substances under high temperatures.
Simply put, a tire suffers from excessive pressure and even explodes if it builds up heat. The cause comes from improper inflation (e.g., fire involvement).
That’s why we never mentioned the fire in our tutorials, even though some other sites suggest it to expand the bead for quick mounting. If you still want to try it, prepare a fire extinguisher and cool the tire down immediately after you turn on the lighter for a few seconds.
However, it is threatening as the chemical phenomenon may continue to linger inside, pushing the tire pressure beyond the limit. It isn’t easy to detect and prevent these developments.
Maybe after a few seconds or hours, the tire explodes with tremendous force, endangering those standing nearby.
What To Do After Putting The Tire On The Rim?
Double-check the tire’s different positions to ensure they are tightened. The prerequisite is that the tension is tight enough to keep the tire from slipping off the rim. However, it should not be too close to stretch the spokes.
Then, tighten the spokes from the center of the rim to the edge. Again, maintain tension to not break the thread and the part itself.
FAQs
Is It Safe To Pop A Tire Back Using Fire?
Absolutely, NO. Though fire expands the beads so the tire fits into the rim in the blink of an eye, it can have serious consequences if you do not master this method.
Why Did My Tire Fall Off The Rim?
Many factors promote this condition, such as direct tire damage, broken tire bead, underinflation, loose lug nuts, axle fracture, wrong tire size, etc.
Can Tires Slip On Rim?
Yes. The most common reason for tire slippery comes from excessive treadwear.
Conclusion
As explained above, you can choose between manual or machine mounting to reinstall a tire on a rim. Both require some hand strength, but the first option requires more effort. Plus, be careful with the pray bars since they risk damaging the rim and sidewalls.